Rubber To Metal Bonding Process
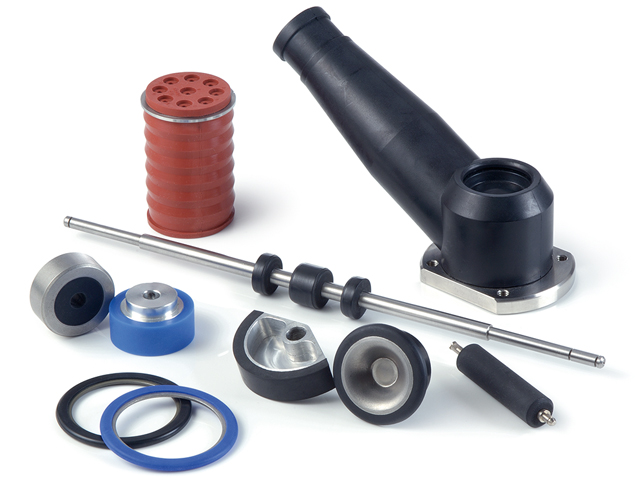
At DP Seals we are experts in the rubber to metal bonding process and have vast experience in this area. Let’s take a look at our process in a little more detail.
5 step rubber to metal bonding process
- Part composition and geometry
- Preparation of the part
- Application of the bonding agent
- Moulding
- Testing
Let’s take a look at each of these in turn.
1. Part composition and geometry
The choice of metal depends on the strength and durability requirements for the part being produced. Steel is commonly used, but due to weight factors, aluminium is increasingly common. Almost any metal can be bonded – so please speak with your manufacturer early in the process for advice.
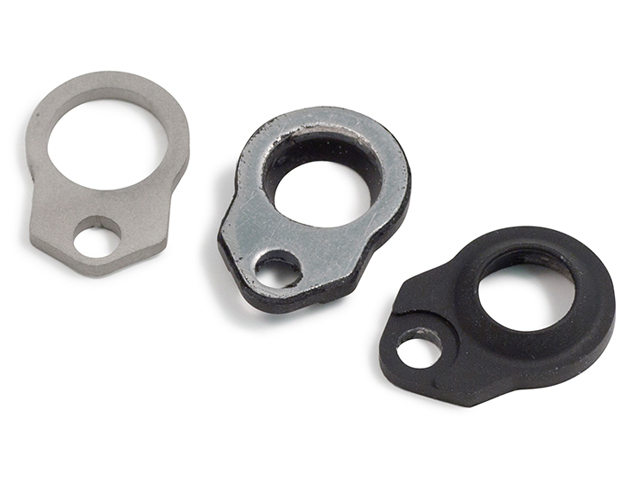
Once you have specified the geometry of the metal component, along with the grade and type of metal, engineers will evaluate the approach. It is at this point that they will also make recommendations on the rubber compound to be used.
Considerations will include the cure characteristic of the rubber to ensure it satisfies application dynamics like fatigue, creep and maintenance and also the bonding environment within the cure cycle. As the rubber filling the mould has very low viscosity, the geometry of the part can present challenges. The mould must enable a positive shut-off or clamp-off on the metal component to reduce the amount of flash.
Stamped or punched metal components may also present problems, as the process does not always hold tight tolerances reliably. The component can only be procured once all parties agree on the optimum material.
2. Preparing the part
Preparing the part for maximum bond strength is a key consideration. It is here that the complex chemistry of metal and rubber interaction and the effects of the moulding process itself must be addressed. Metals may be treated by mechanical or chemical means and preparation includes a combination of the following steps:
- Cleaning the component with a solvent to eliminate any remnants of machine oil or grease
- Aqueous degreasing to meet stringent environmental standards
- Treating the surface through grit blasting and other physical abrasion to allow more bonding surface area
- Treating the surface with chemical agents such as zinc phosphate or ammonium persulphate
- Drying
3. Application of the primer and bonding agent
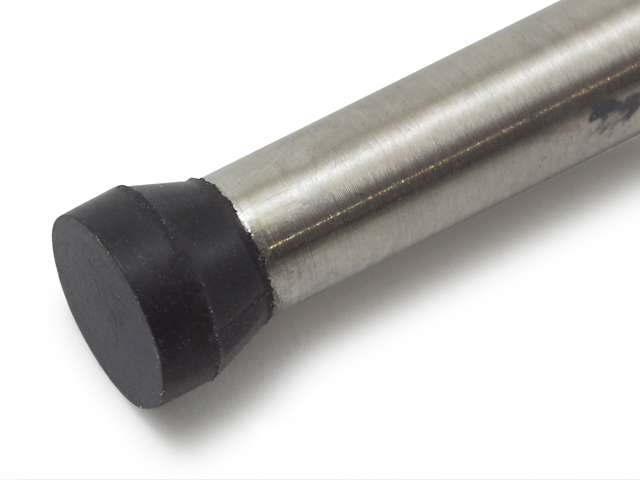
Oxidation of metal means there may only be a small window to apply the primer. Most bonding agents are diluted with a reagent grade of solvent which makes it easier to spray or dip. It is critical that the correct mixing ratio of bonding agent to solvent is developed to ensure that bonding agent thickness and percent solids are sufficient to provide a strong bond.
If the blend is too viscous, it can result in the bonding agent not properly setting up correctly. Too low viscosity and it can be swept off the component due to the high-pressure rubber flowing into the cavity.
Application of the bonding agent includes a combination of the following steps:
- Masking a section of the component to cover everything except the specific area where rubber is to bond
- Applying heat-activated primer and bonding systems through dipping, spraying or by brush
- Baking the primed component to ensure it is dry and set up for moulding
- Depending on the rubber material being used either one or two coats of primer/bonding agent will be applied
4. The moulding process
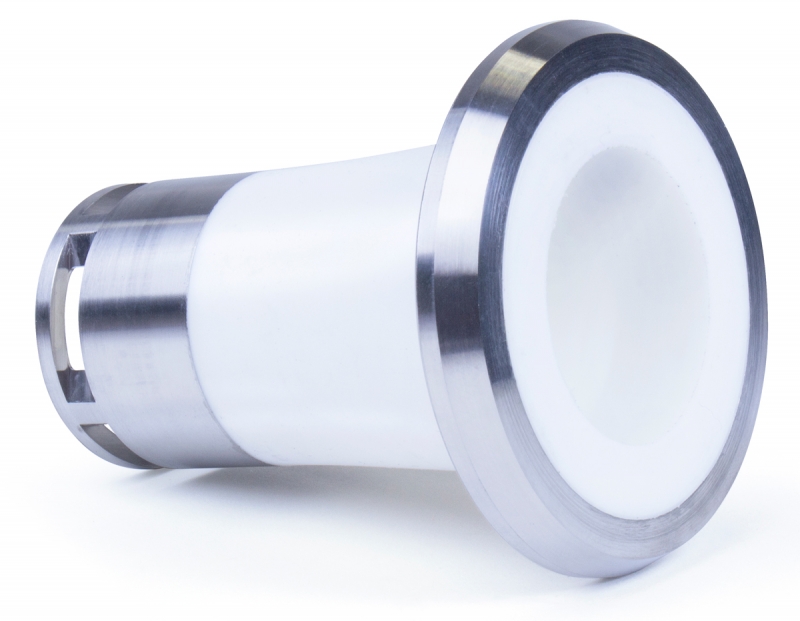
This is the most important part in the process and there are various moulding techniques available. At DP Seals, we believe that in most cases there is no need to go to full injection mould tooling and its attendant high process control costs.
The combination of specialised compression and transfer moulding we offer allows us to cater for both high and low volume custom solutions, achieving the excellent levels of precision and quality for which we are known.
We have also been granted a UK patent for our unique tooling and moulding system which results in drastically reducing and even removing any potential for flashing. This enables us to produce small, close tolerance, flashless mouldings that no-one else can match.
5. Test with prototypes or finished parts
We conduct testing to see how the parts react when stressed through compression, tension, shear or torsion. The only testing methods for determining bond strength involve destroying the part and tests such as hand peeling or stripping are common for visual performance results. Machines such as tensile testers are more scientific and will measure the amount of force required to break the bond.
Summary
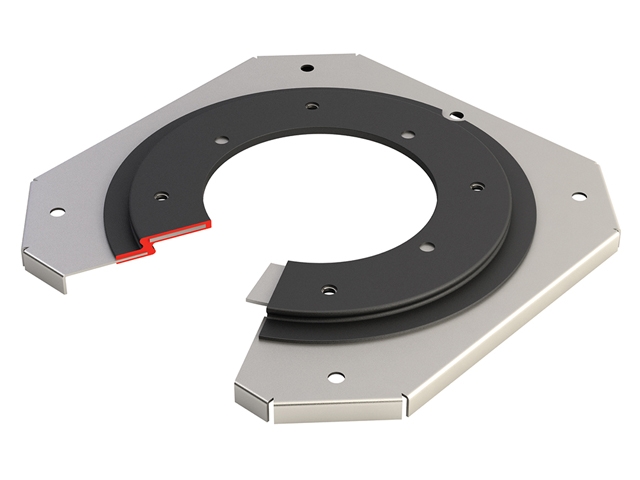
Every step of the rubber to metal bonding process must be expertly conducted to develop a bonded component that is stronger than the sum of its parts. DP Seals has over 40 years’ experience and is a specialist in the field so we are ideally placed to help you. From in-flight refuelling systems to a 3mm rubber to metal bonded plunger seal used to sample ocean water, we have the adaptability and innovative approach to help achieve your goals.
For further details including ‘Why use rubber to metal bonding?’, ‘Typical applications’, ‘The importance of early communication’ and some ‘Top tips’ download your free Rubber to metal bonding guide right now.
Get in touch
If you’d like to discuss your project feel free to get in touch and see how we can help you reduce cost and improve quality through the combination of the following value-added services:
- Technical input
- Prototype and 3-D printing
- CAD/CAM links
- Unrivalled materials expertise
- Patented moulding system
- Fluorination
- Cryogenic cleaning services
- A first class approach to quality control
Additional support
Guides
Download your Guide to developing custom rubber seals, gaskets & mouldings
Videos
These videos provide useful tips, advice and information about the rubber moulding process and DP Seals.